Manufacturing the glabbal kit
Step by step to custom sandals with a master´s touch
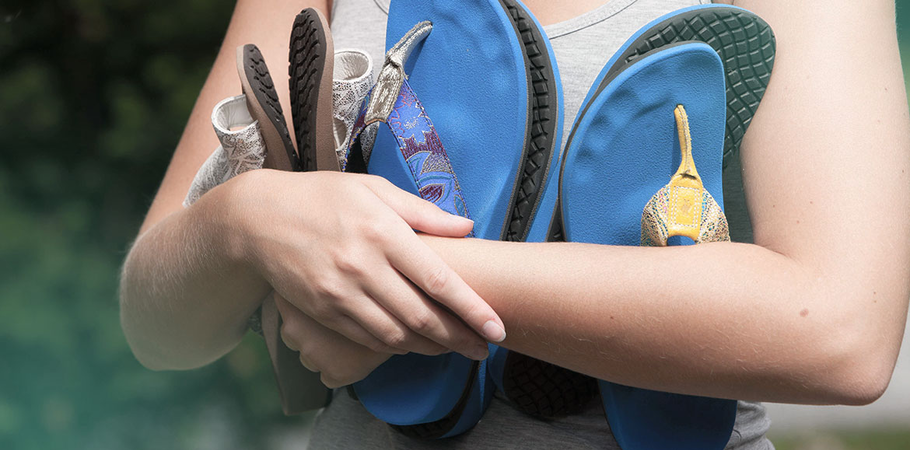
After measuring the patient's foot, modeling is done in the paro360 software, using the glabbal library. This enables the perfect preparation of a footbed milled on both sides, which enormously reduces the production time in the factory. The data is then sent to the milling machine. In order to be able to mill the 38mm glabbal blanks, the 5mm spacer must be inserted into the blank holder. The blanks are milled on both sides. All individual parts are then assembled with the following tools: scissors, curved pliers, 6 mm punch, 20 and 30 mm chisel, PC glue (neoprene). A first fitting on the customer's foot is then essential, to draw in final customization changes. After that the final assembly takes place, the shaft is roughened and the outsole is attached. In a vacuum press or the shoemaker's press, the finished pair of glabbal is finally pressed together. Finally, the summer sandals are grinded and finalized – The custom sandals with master´s touch are finished.
You can also see the exact working procedures in our video and the glabbal construction manual can also be downloaded here:


